
Onboarding with ArgoCD
Onboarding a cluster in NPM with the help of ArgoCD involves the installation of Nirmata Enterprise for Kyverno (N4K) with ArgoCD and cluster-registrator.
Prerequisites
- Helm: Refer to the official docs for installation.
- ArgoCD: ArgoCD should be up and running. Refer to the official ArgoCD documentation for installation.
- Git Repository: Must have access to the Nirmata git repository.
- NPM Dashboard: Must have access to Nirmata Policy Manager (NPM) dashboard. Refer to this link to start a free trial.
N4K installation
Nirmata N4K can be installed in two ways:
- Using Helm template
- Using Git Repository (more customizable with values.yaml)
Installing N4K with ArgoCd using Helm template
Follow the below steps to install N4k with ArgoCd using Helm template:
- Installation of N4K with ArgoCD requires a
values.yamlfile, which is used for configuring customer specifications. For each N4K version, there is a release chart that contains thevalues.yamlfile. Refer to thevalues.yamlfile for N4K version 1.11 here. - Now, clone the chart repository locally to update the
values.yamlfile. - After cloning, update the following parameters in the
values.yamlfile:
a. Add the License Key. The license key for N4K is available in the UI. For assistance, you can contact support@nirmata.com.
b. Change the repository being used.
c. Add the registry details in the secrets.
d. Add the necessary Labels and Annotations.
e. Ensure that thevalues.yamlfile mentions theenableWebhookparameter asfalse. This is applicable only for installation with ArgoCD. - Now, copy the modified
values.yamlfile. - Next, create the helm template by executing the following command:
helm template nirmata-kyverno-operator nirmata/nirmata-kyverno-operator -n nirmata-kyverno-operator --create-namespace -f values.yaml --version <version> --include-crds > nirmata-helm-template.yaml
- After creating the
nirmata-helm-template.yaml, delete or comment out the lastpre-delete-hook.yamlfile found at the end of the template yaml file.
Note: This is applicable only for N4K installing with ArgoCD.
- Additionally, under
nirmata-kyverno-operator/templates/cr-kyverno.yamlin thenirmata-helm-template.yamlfile, add the below secret:
spec:
    secrets: operator-params
- Now, create a local git repository by the name nirmata-kyverno-operator.
- Next, copy the helm template of the
nirmata-kyverno-operatordirectory available locally, commit, and push it to the newly created git repository. - After this, create a new application in ArgoCD with the name nirmata-kyverno-operator. Also, set
nirmata-kyverno-operatoras the namespace. - Now that the application is created, the manifest file needs to be updated. In the manifest file, update the below section by giving the helm
valueFilesreference andsyncOptions.
project: default
source:
    repoURL: 'https://github.com/user/nirmata-kyverno-operator.git'
    path: nirmata-kyverno-operator
    targetRevision: HEAD
helm:
    valueFiles:
        - values.yaml
destination:
    server: 'https://kubernetes.default.svc'
    namespace: nirmata-system
syncPolicy:
    syncOptions:
        - CreateNamespace=true
        - ServerSideApply=true
        - ApplyOutOfSyncOnly=true
- Finally, click on the SYNC button in the ArgoCD UI to sync up all the resources. This will install the resources into the cluster.
Installing N4K with ArgoCd using Git Repository
The following steps will help you install N4K with ArgoCD using the git repository. This method is more customizable with the values.yaml file.
- Installation of N4K with ArgoCD requires a
values.yamlfile, which is used for configuring customer specifications. For each N4K version, there is a release chart that contains thevalues.yamlfile. Refer to thevalues.yamlfile for N4K version 1.11 here. - Firstly, create a local git repository by the name nirmata-kyverno-operator.
- Now, clone the
nirmata-kyverno-operatorhelm chart found in the Nirmata Kyverno Charts and copy the contents to the locally created git repository. - Next, update the following parameters in the
values.yamlfile locally:
a. Add the License Key. The license key for N4K is available in the UI. For assistance, you can contact support@nirmata.com.
b. Change the repository being used.
c. Add the registry details in the secrets.
d. Add the necessary Labels and Annotations.
e. Ensure that thevalues.yamlfile mentions theenableWebhookparameter asfalse. This is applicable only for installation with ArgoCD. - After modifying the
values.yamlfile locally with the necessary changes, replace the existingvalues.yamlin the local repository with the modified one. - Next, create a new application in ArgoCD with the name nirmata-kyverno-operator. Also, set
nirmata-systemas the namespace. - Now that the application is created, the manifest file needs to be updated. In the manifest file, update the below section by giving the helm
valueFilesreference andsyncOptions.
project: default
source:
    repoURL: 'https://github.com/user/nirmata-kyverno-operator.git'
    path: nirmata-kyverno-operator
    targetRevision: HEAD
helm:
    valueFiles:
        - values.yaml
destination:
    server: 'https://kubernetes.default.svc'
    namespace: nirmata-system
syncPolicy:
    syncOptions:
        - CreateNamespace=true
        - ServerSideApply=true
        - ApplyOutOfSyncOnly=true
- Finally, click on the SYNC button in the ArgoCD UI to sync up all the resources. This will install the resources into the cluster.
Nirmata Cluster-Registrator installation
Follow along with the below steps to install the Nirmata Cluster-Registrator:
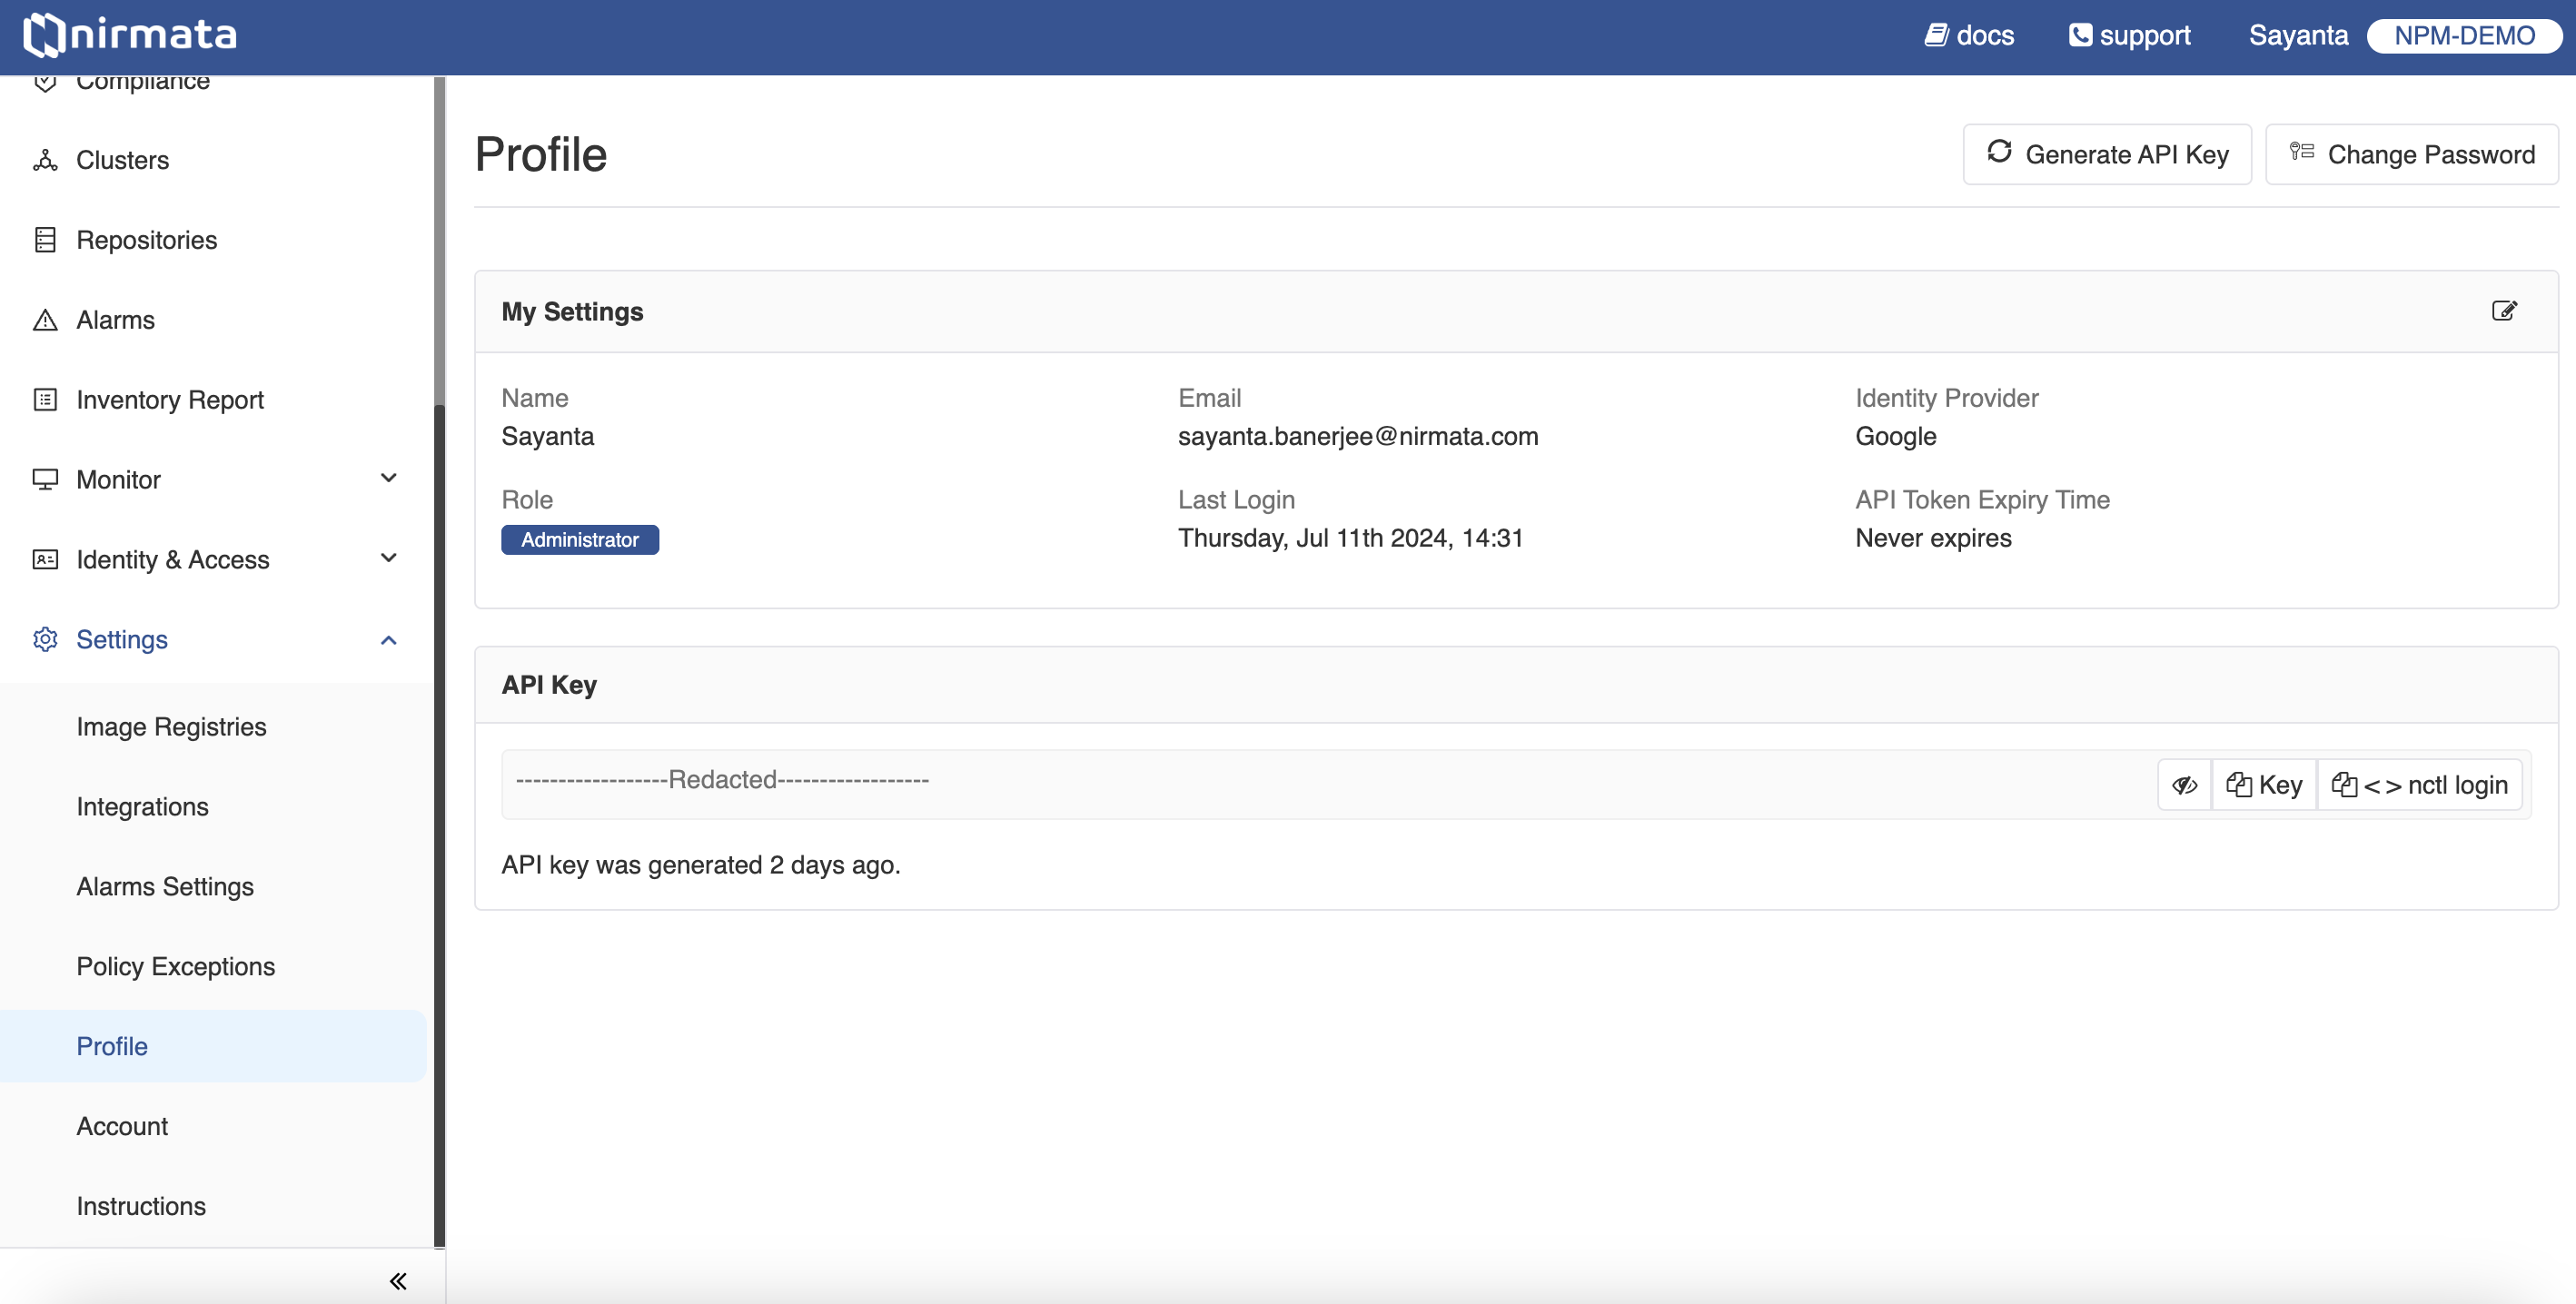
- Log in to the Nirmata Policy Manaager and go to Settings>Profile. An API key will be already generated in the profile page. Copy the API key for using by clicking the
keybutton. If no API-key is found, generate a new API key and copy it by clicking on theGenerate API Keybutton located on the right-hand top section of the page.
-
Next, add the API Key to the
values.yamlfile along with the cluster name. These are the two necessary parameters required for the cluster-registrator installation. Thevalues.yamlfile for cluster-registrator can be found here. -
Now, create a new application in ArgoCD with the name nirmata-cluster-registrator.
-
After this, click on the SYNC button in the ArgoCD UI to sync up all the resources.
-
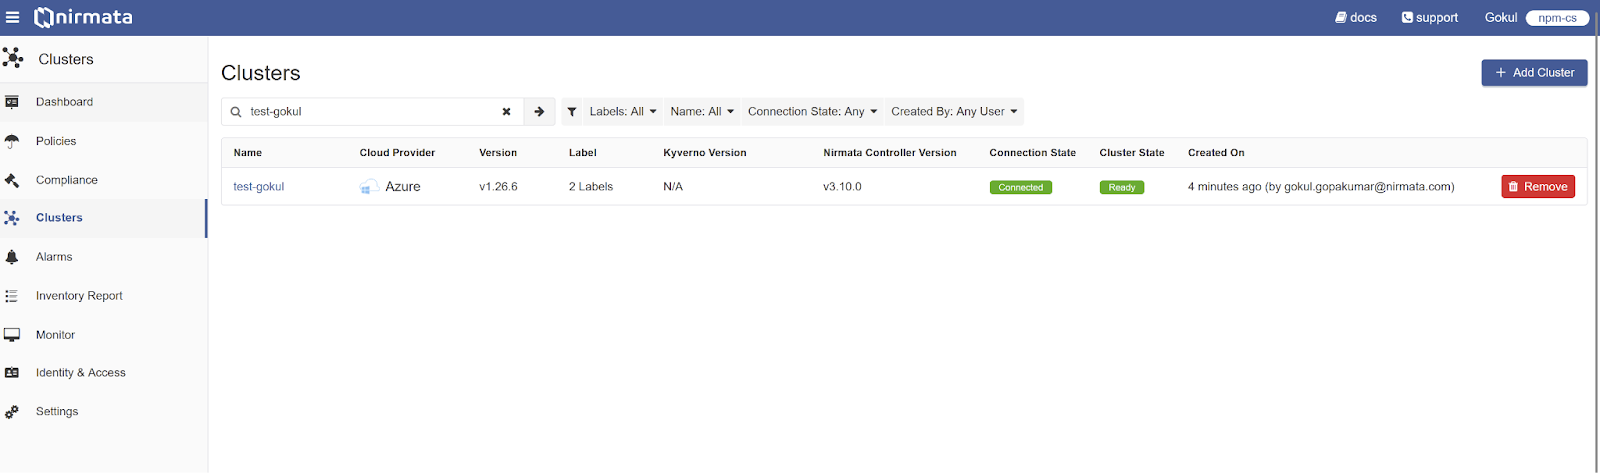
Now, head over to NPM and go to Menu>Clusters to verify the creation of the cluster correctly.
- Alternatively, execute the following command in the terminal to verify the successful installation of the cluster-registrator by confirming that there are no errors found in the logs:
kubectl logs job/nirmata-cluster-registrator -n nirmata -f